Topic Tour: Assemble, Build, and Construct
Learn more about some of the sculptures at VMFA and then create your own!
Introduction
A sculpture is a 3-D work of art that is made of shapes, or forms. Sculptures take up space. You can walk around a sculpture and see all of its sides.
Sculptures were first made from clay, wood, stone, and metal. Today, sculptures can be made from almost any type of material, including paper, fabric, wire, natural materials (rocks, sticks, etc.), recycled materials (cardboard, plastic bottles, etc.), and even light.
An artist that creates a sculpture is called a sculptor. Sculptors use tools to shape, remove, or attach materials. They use their hands to model (or shape) soft materials, like clay. They use a sharp chisel to carve (or cut away) hard materials, like wood and stone. They can also use construction tools, like hammers, drills, saws, or screwdrivers, to assemble (or build) a sculpture.
Sculptures come in all shapes and sizes. They can look like something you recognize, or they can just look like shapes, colors, and textures. We invite you to use this guide to learn more about some of the sculptures here at VMFA!
To begin, ask your child what she or he knows about sculptures:
- What is a sculpture? (A 3-D work of art that takes up space and isn’t flat.)
- How is a sculpture different than a painting? Remember: Paintings are flat (smoosh hands together) and sculptures are fat (hold arms out in front of your body with hands touching to make a circle).
- What materials can you use to make a sculpture? (Just about anything!)
- Where have you seen a sculpture? What did it look like?
- Have you ever made a sculpture? (Some examples: building with blocks, shaping clay/play-dough, creating a sand castle, carving a pumpkin, building a snowman, etc.)
Did you know that phrasing your questions a certain way can make children think and strengthen their cognitive development and observational skills? Try asking open-ended questions that spark creative responses rather than questions that result in Yes or No answers.
GALLERY GUIDELINES
One of the tools we use to engage our students is enrichment activities – songs, rhymes, and materials that invite children to explore art works in a deeper capacity. We invite your family to do the same! Here are some guidelines to keep in mind:
- Only bring soft, dry, materials with you, and something to easily contain them (a small bag or basket).
- Do not bring wet, hard, or sticky objects like rocks, markers or stickers.
- Suggested materials: pipe cleaners, feathers, silk leaves, pom poms, etc.
- We usually incorporate items that connect with the art works we are looking at or with the songs we sing (silk leaves for jungle animal songs, large doll straw hats that resemble a hat in a portrait).
- Remember to keep the art work safe by using museum hands (holding hands together like they’re giving each other a hug) and walking like slow moving turtles while in the galleries.
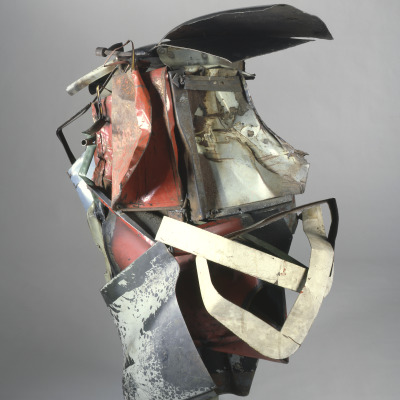
Object 1
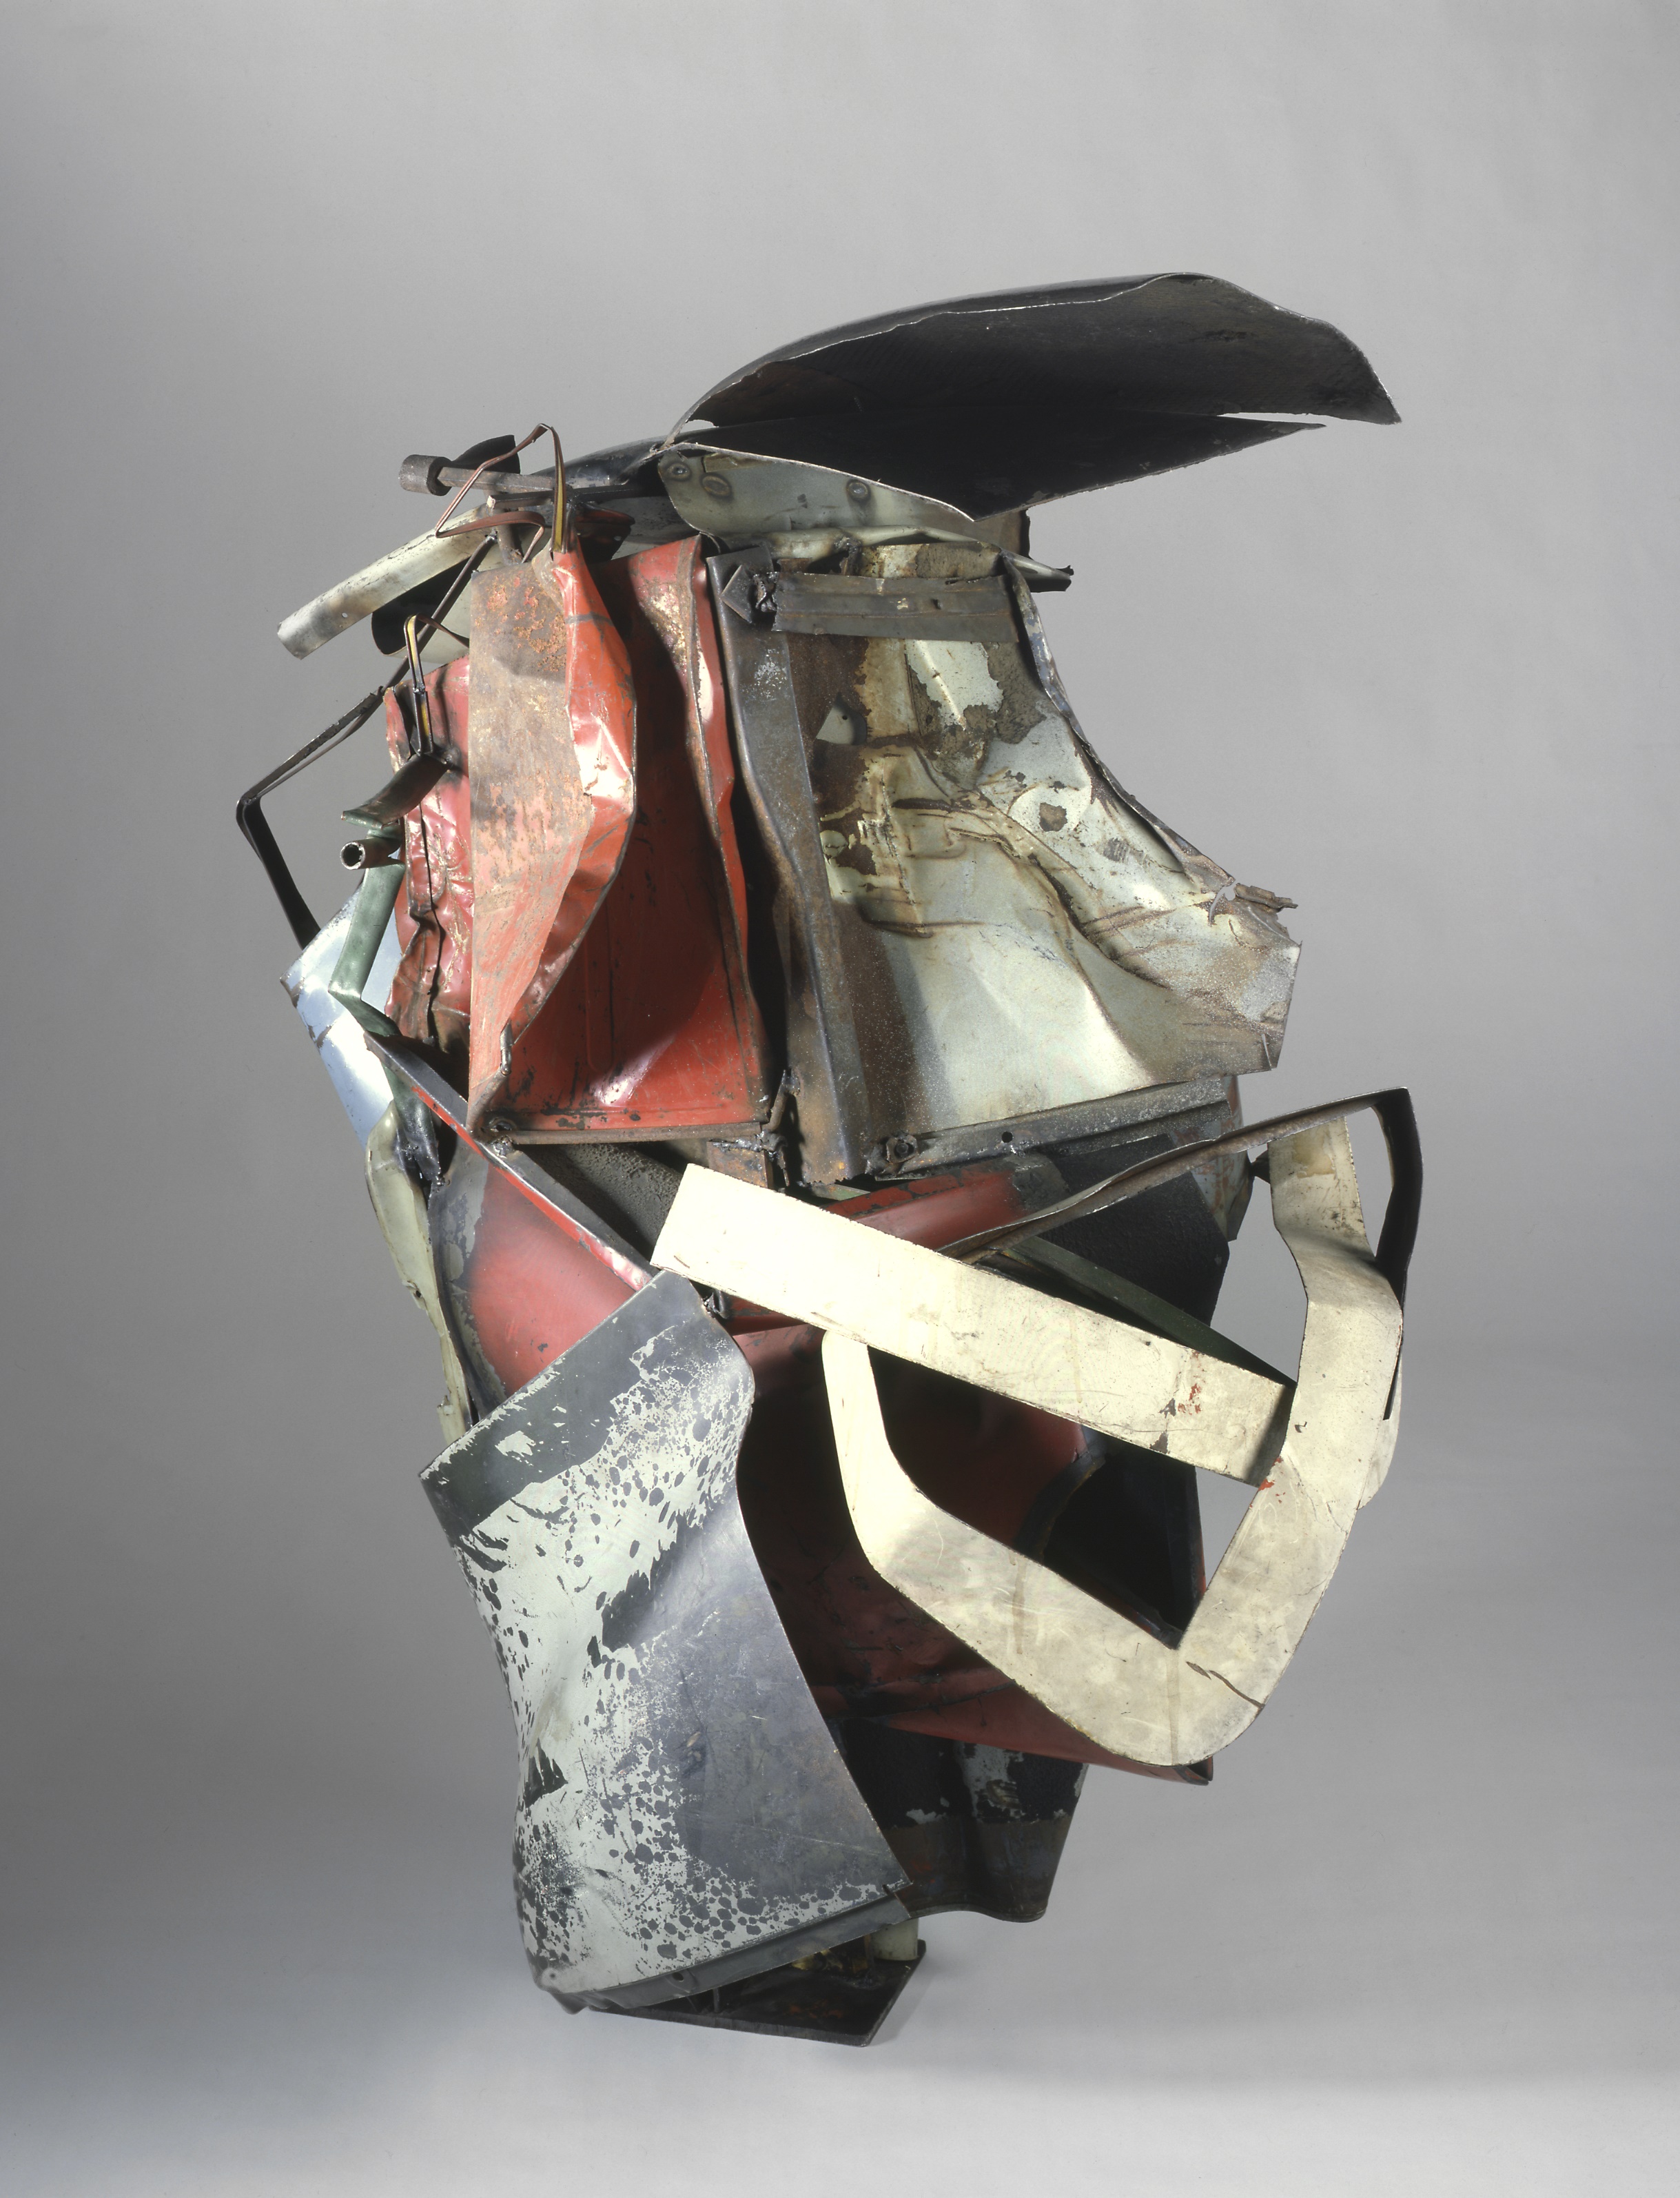
Johnny Bird
Enter the museum through the main entrance and travel up the glass elevator to the second floor. Take a right out of the elevator and walk across the bridge that leads to the Mid to Late 20th Century Gallery. Enter the gallery and walk straight until you reach the second room where you will find our first object.
John Chamberlain was an American sculptor known for creating sculptures from old automobile parts that he crushed, twisted, and bent. He often welded (melted metal together using high heat) pieces of scrap metal together in a way that made it hard to tell that they were once parts of cars.
The title of this sculpture is Johnny Bird. Why do you think the artist gave his sculpture this name?
Discussion Questions
- What do you notice about this work of art?
- What colors and shapes do you see?
- Is this work hanging on the wall? Is it flat?
- What material do you think the artist used to make this sculpture?
- Do the materials look new or old?
- What tools do you think the artist used to create this sculpture?
- Does this sculpture look like anything to you?
Gallery Action Song:
Give your child several pieces of aluminum foil and let him or her manipulate the foil as you sing this song together (you will need at least one piece of foil for each verse). The shaped foil pieces can then be combined to make a larger sculpture, if desired.
This is the Way We Make a Sculpture
(Tune: Here We Go Round the Mulberry Bush)
This is the way we crush the foil
crush the foil, crush the foil.
This is the way we crush the foil
to make a sculpture.
This is the way we twist the foil
twist the foil, twist the foil.
This is the way we twist the foil
to make a sculpture.
This is the way we bend the foil
bend the foil, bend the foil.
This is the way we bend the foil
to make a sculpture.
Interesting Fact!
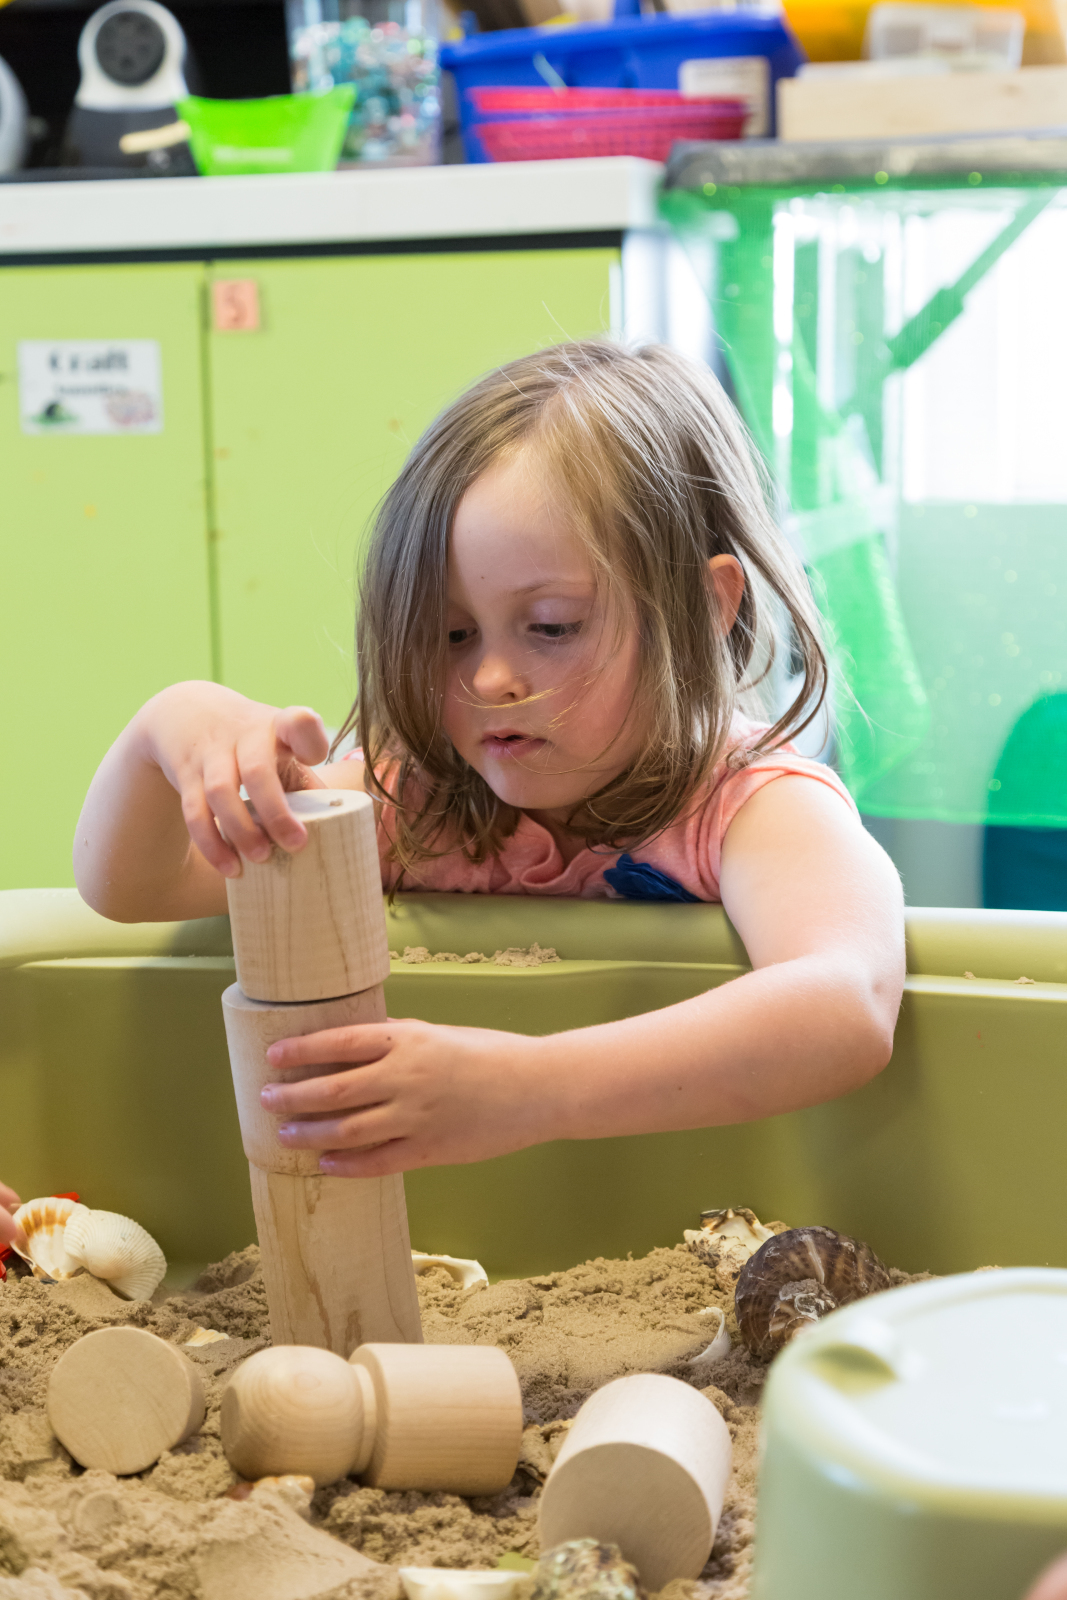
Sculptures that are formed by collecting and assembling (putting together) objects found in everyday life are called assemblages. Learn how you and your child can gather simple materials, or “loose parts,” that can be used for open-ended play here.
Object 2
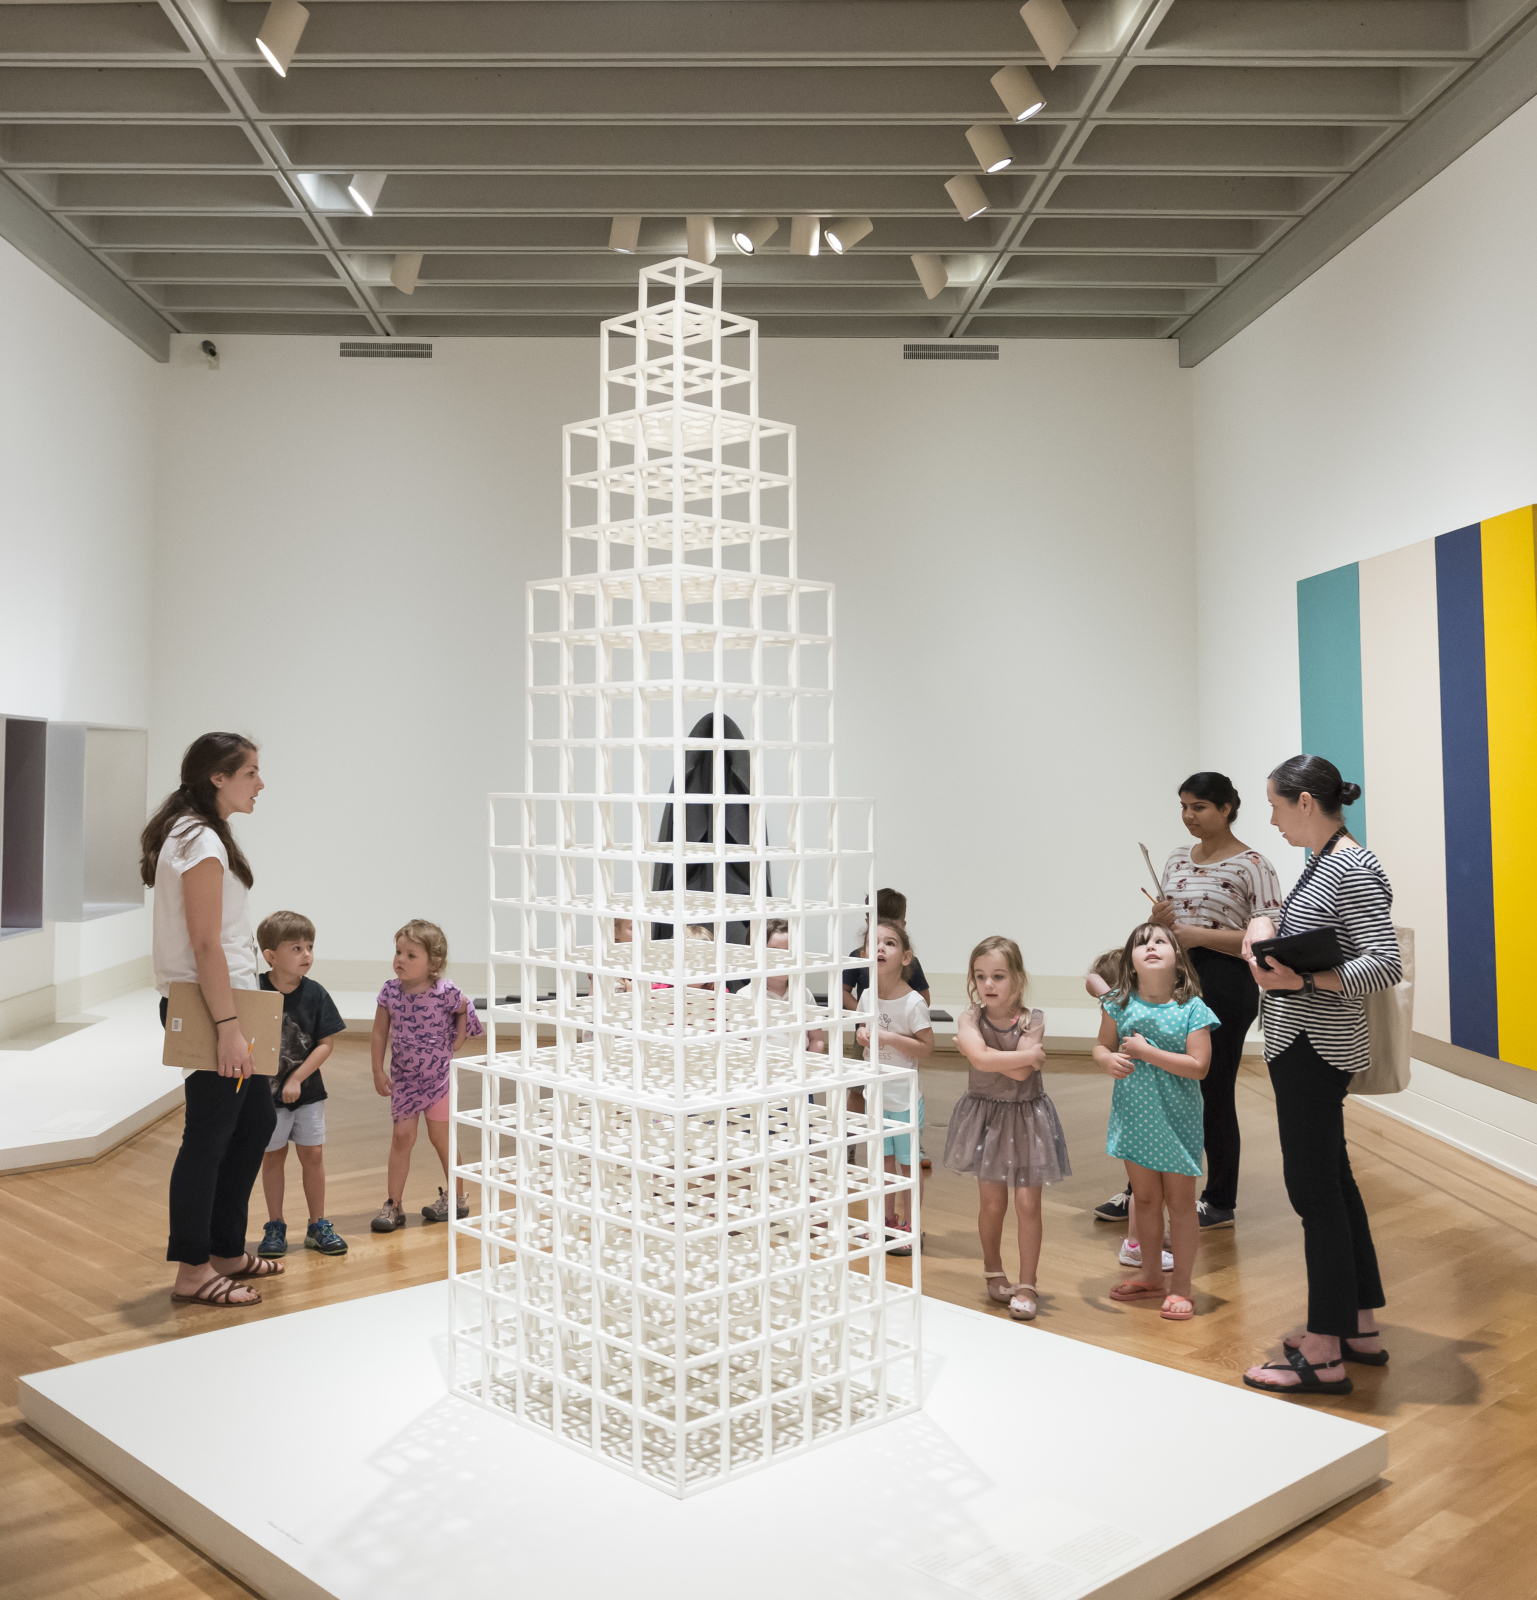
1 2 3 4 5 6
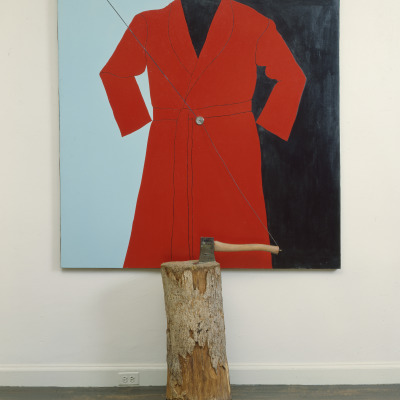
When you are ready to continue your tour, continue walking straight. You will pass Red Robe with Hatchet (Self-Portrait) by Jim Dine. Can you find the tool that is included in this art work? As you walk into the next room, you will see our second object.
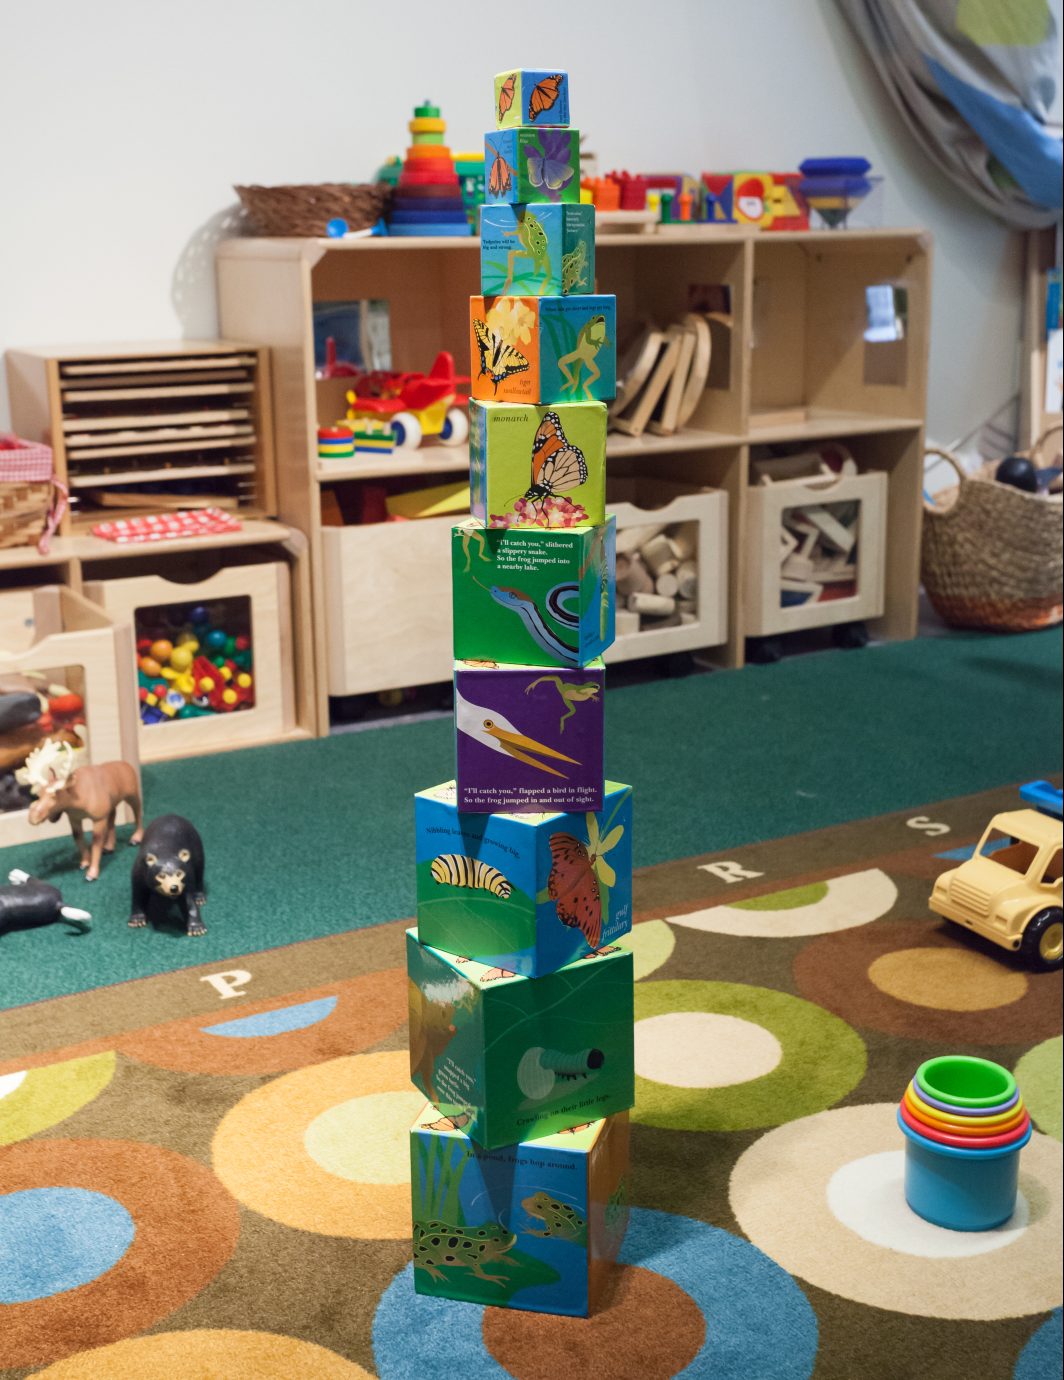
Sol LeWitt is considered to be a founder of Conceptual art. He believed that an idea itself could be a work of art.
He became interested in the cube (a 3-D square) early in his career. He used this form to create many large sculptures of towers and pyramids. He called these works “structures.”
Sol LeWitt combined art with math to design this sculpture. Can you count the number of blocks (or levels) in this work? (Hint: the title of this work is 1 2 3 4 5 6.)
Discussion Questions
- What do you notice about this work of art?
- What colors and shapes do you see?
- What does this sculpture look like to you?
- Is the biggest block on the top or bottom of the sculpture?
- What would have happened if the artist had put the smallest block on the bottom?
- What material do you think the artist used to make this sculpture? (wood)
- What tools do you think the artist used to create this sculpture?
Gallery Action Song:
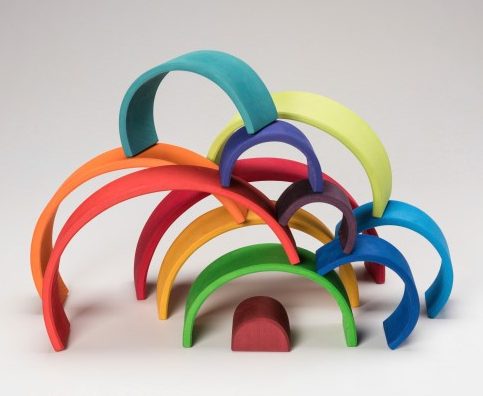
Exit the gallery and travel into the Marble Hall where you will find large, colorful blocks (also by Sol LeWitt) bouncing along the walls.
Sit on the floor and sing this song while your child builds with soft, foam blocks or a cardboard stacking tower.
Object 3
Writing Piece: Cease
When you are finished in the Marble Hall, reenter the Mid to Late 20th Century Gallery through the left doorway. As you enter the gallery, continue left and you will find our last object in the middle of the room.
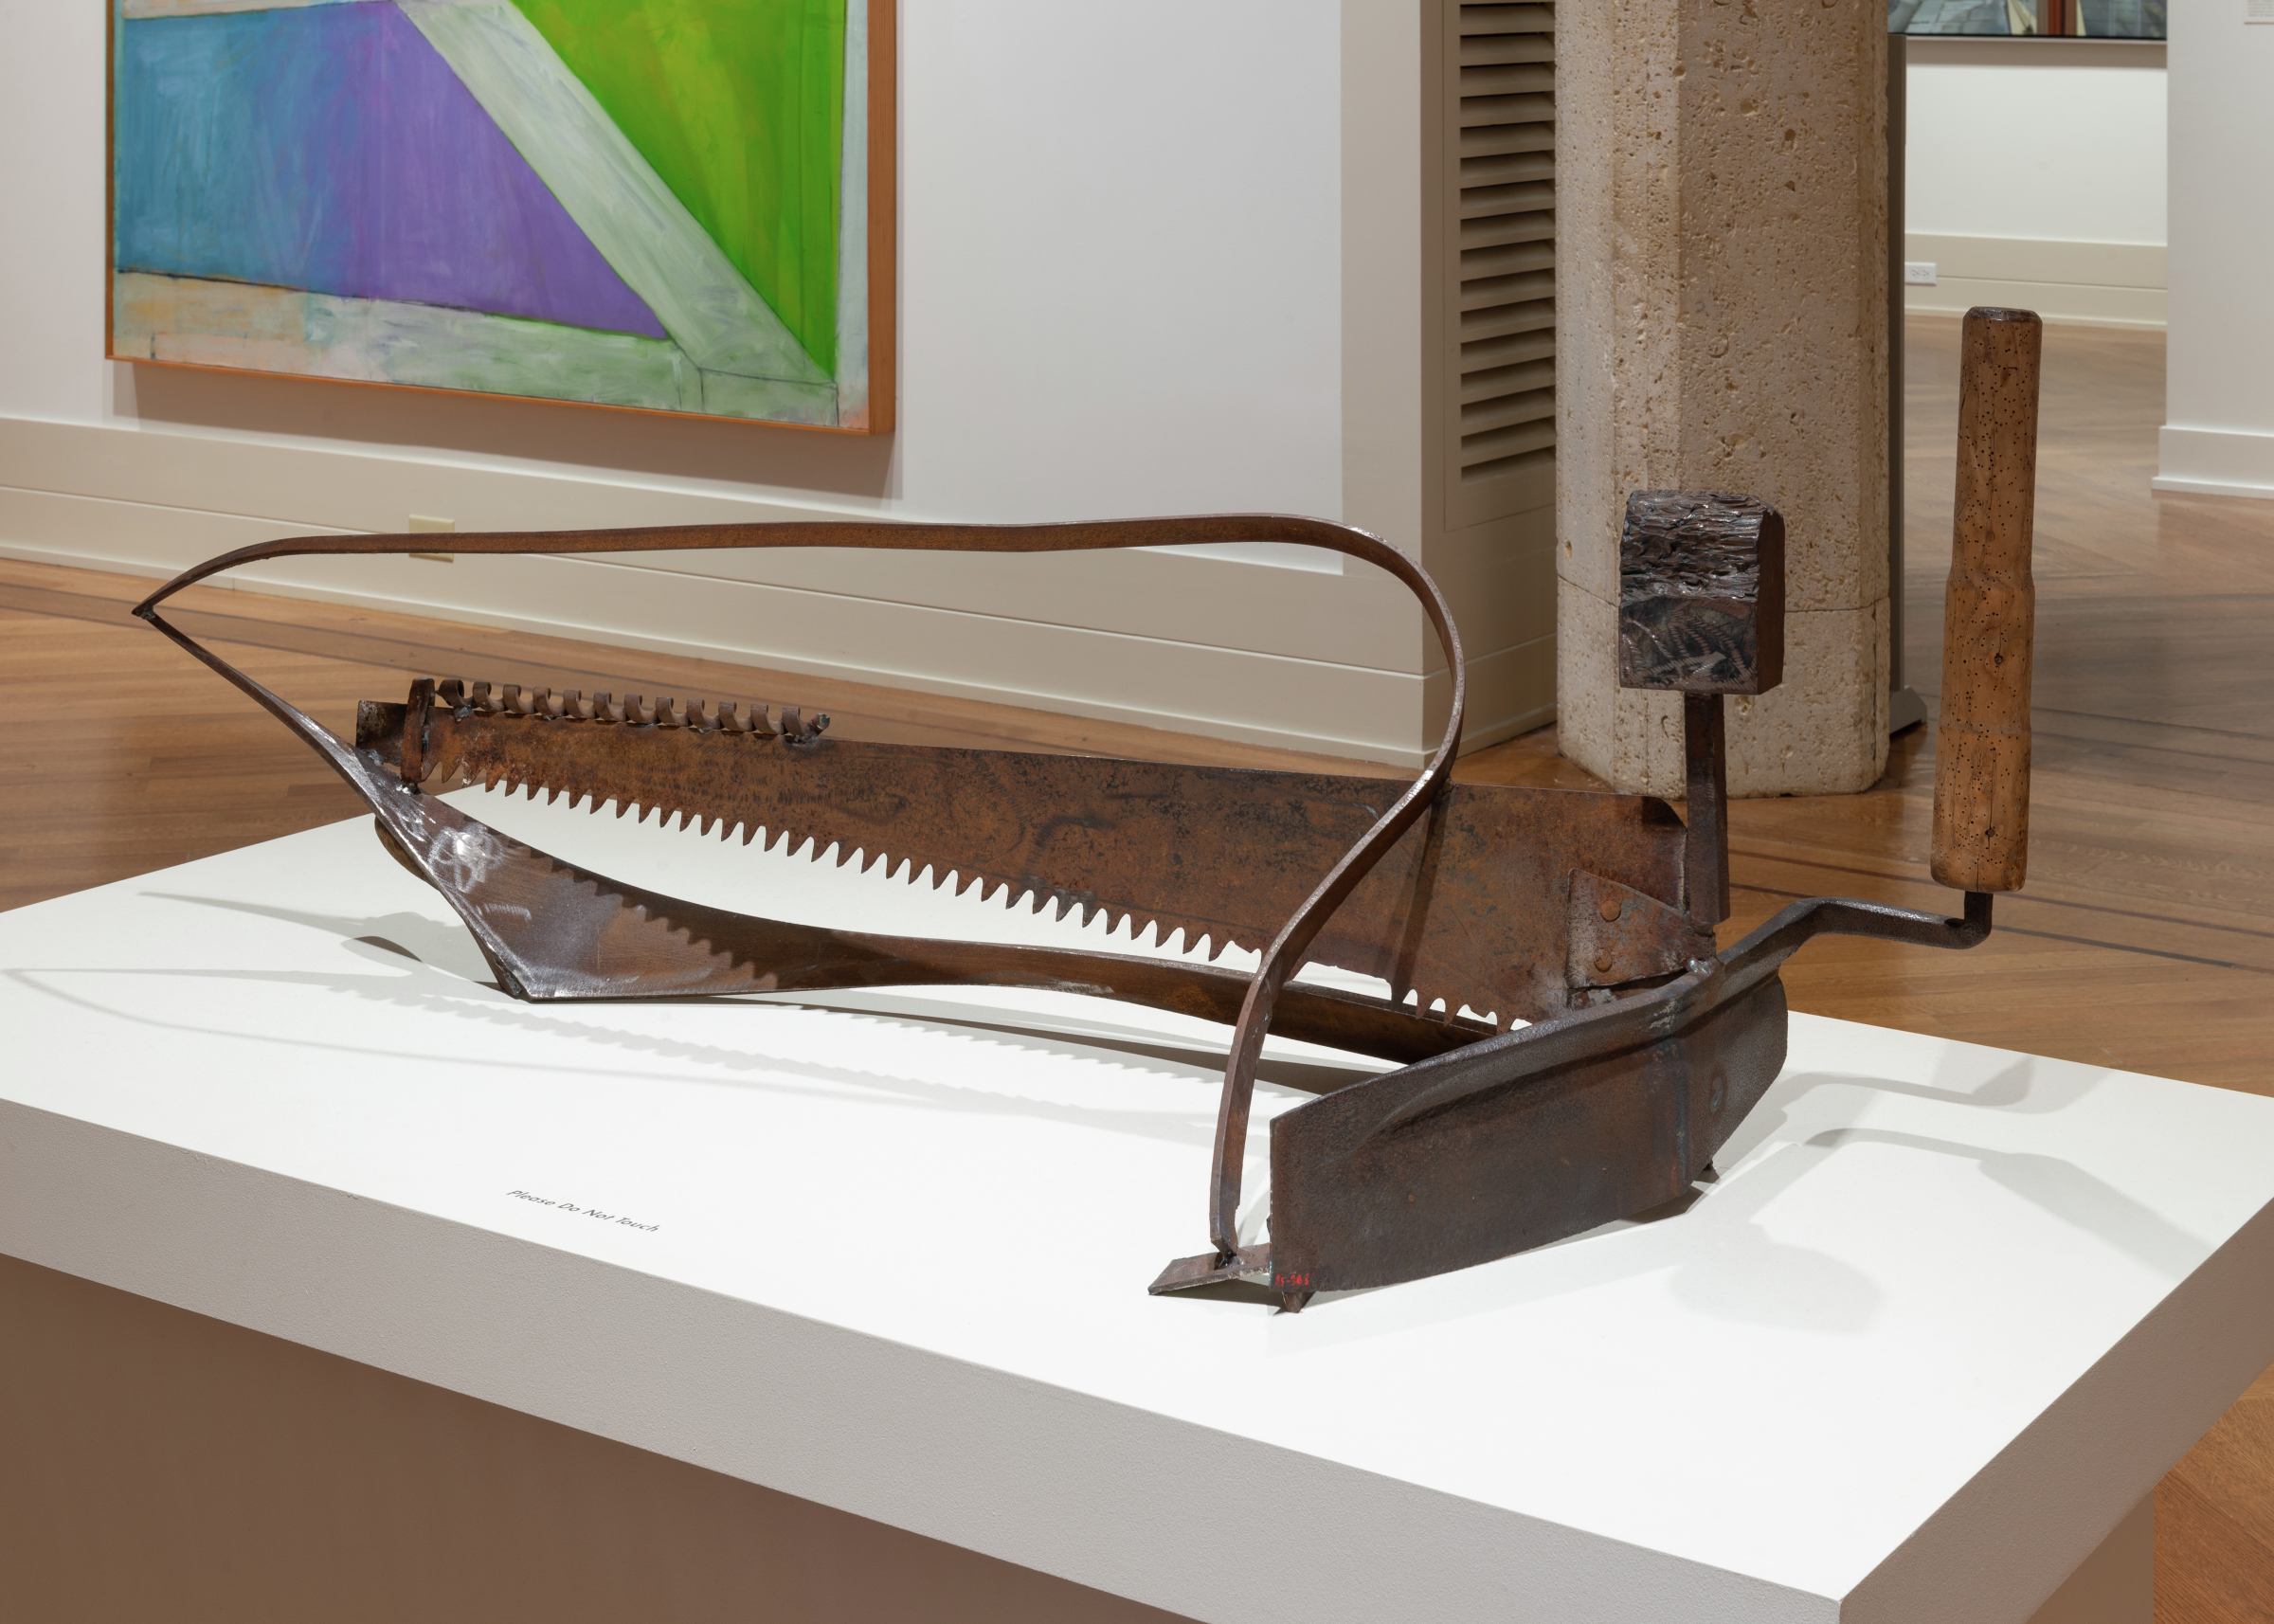
Anthony Caro was an English sculptor known for creating assemblages from found objects. Found objects are usually things that are not normally considered to be art materials, such as things you might find around the house or even in the street.
Caro’s abstract sculptures are often combinations of pieces of metal and old tools. In this work, he includes drill bits, old saw blades, and woodworking tools.
The title of this sculpture is Writing Piece: Cease. Does anything about this sculpture make you think of the act of writing with your hand? Notice the movement in the lines of the sculpture.
Discussion Questions
- What do you notice about this work of art?
- How does the sculpture change as you walk around it?
- What materials do you think the artist used to make this sculpture?
- Do the materials look new or old?
- Can you spy a saw? How do you think it would feel?
- Can you draw a zigzag line in the air (like the jagged teeth of the saw)?
- Can you spy a swirly drill bit? Can you draw a swirly, loopy line in the air?
Gallery Action Rhyme:
A Sculpture for Me
The artist’s hammer goes tap, tap tap. (make a fist with one hand and pound against palm of other hand)
and his saw goes see, saw, see. (move one hand back and forth on palm as if sawing)
He hammers and hammers and saws and saws (alternate hammering and sawing motions)
to create a sculpture for me. (point to self)
Johnny Works with One Hammer is also a fun action song. You can substitute your child’s name for “Johnny.” You can also substitute “I work” to make the song gender neutral.

Interesting Fact!
Children as young as three years can begin to learn woodworking skills. They can even use real tools in a safe and authentic way. Learn more here.
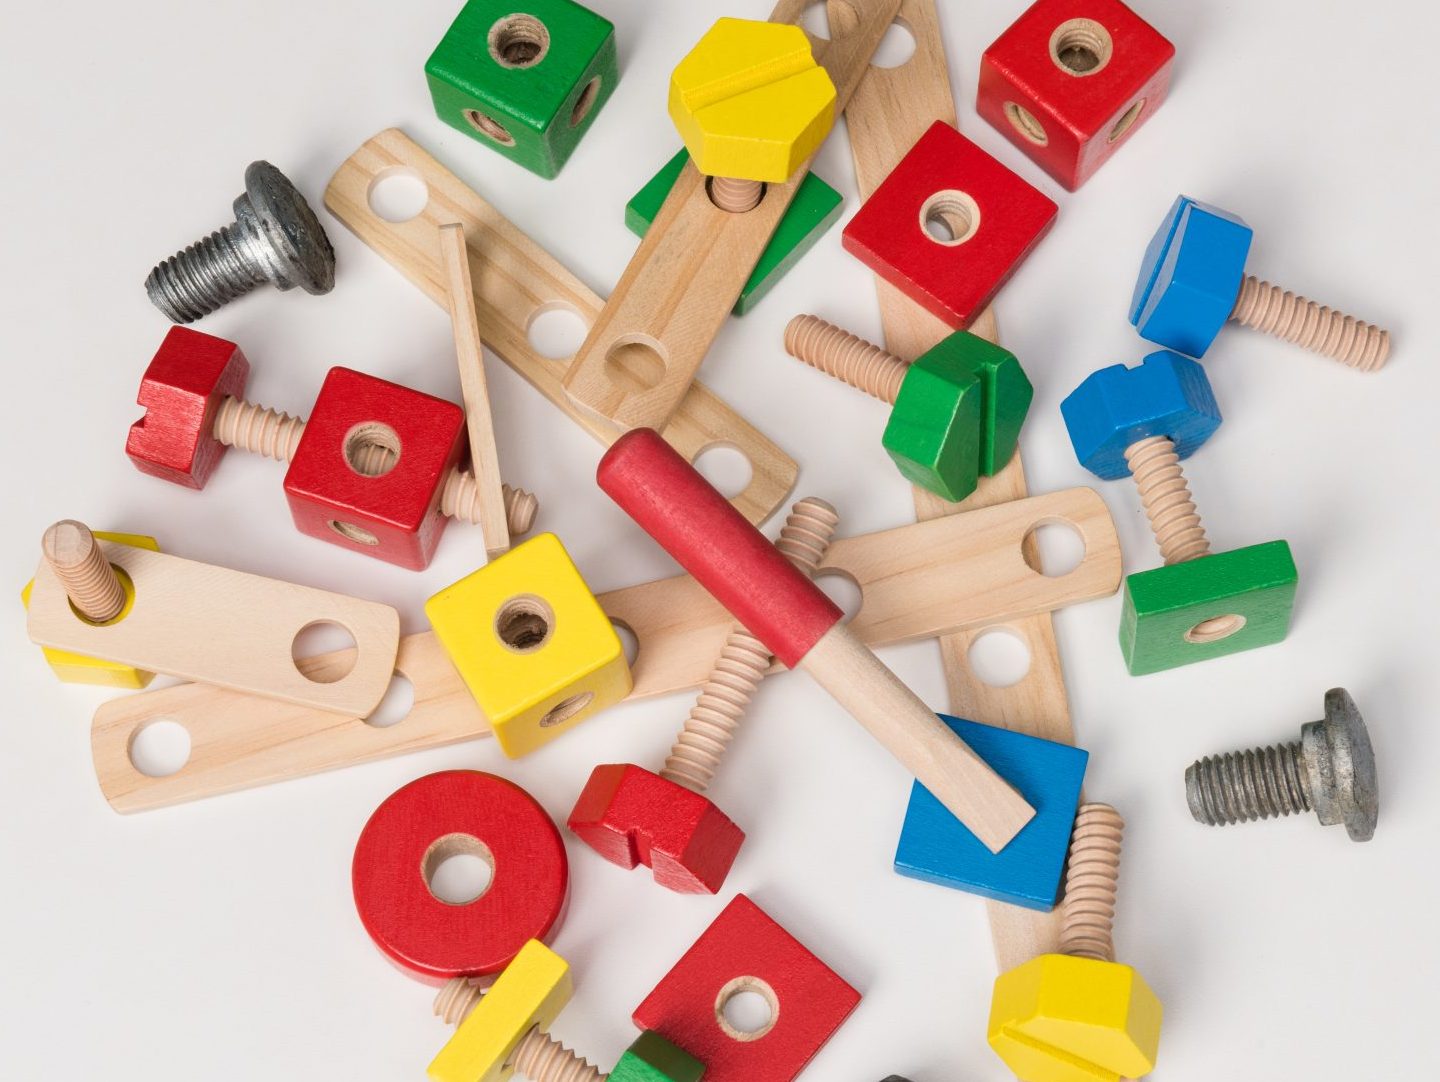
A wooden nut and bolt construction set can also be a good way to introduce younger children to tools and to develop fine motor skills.
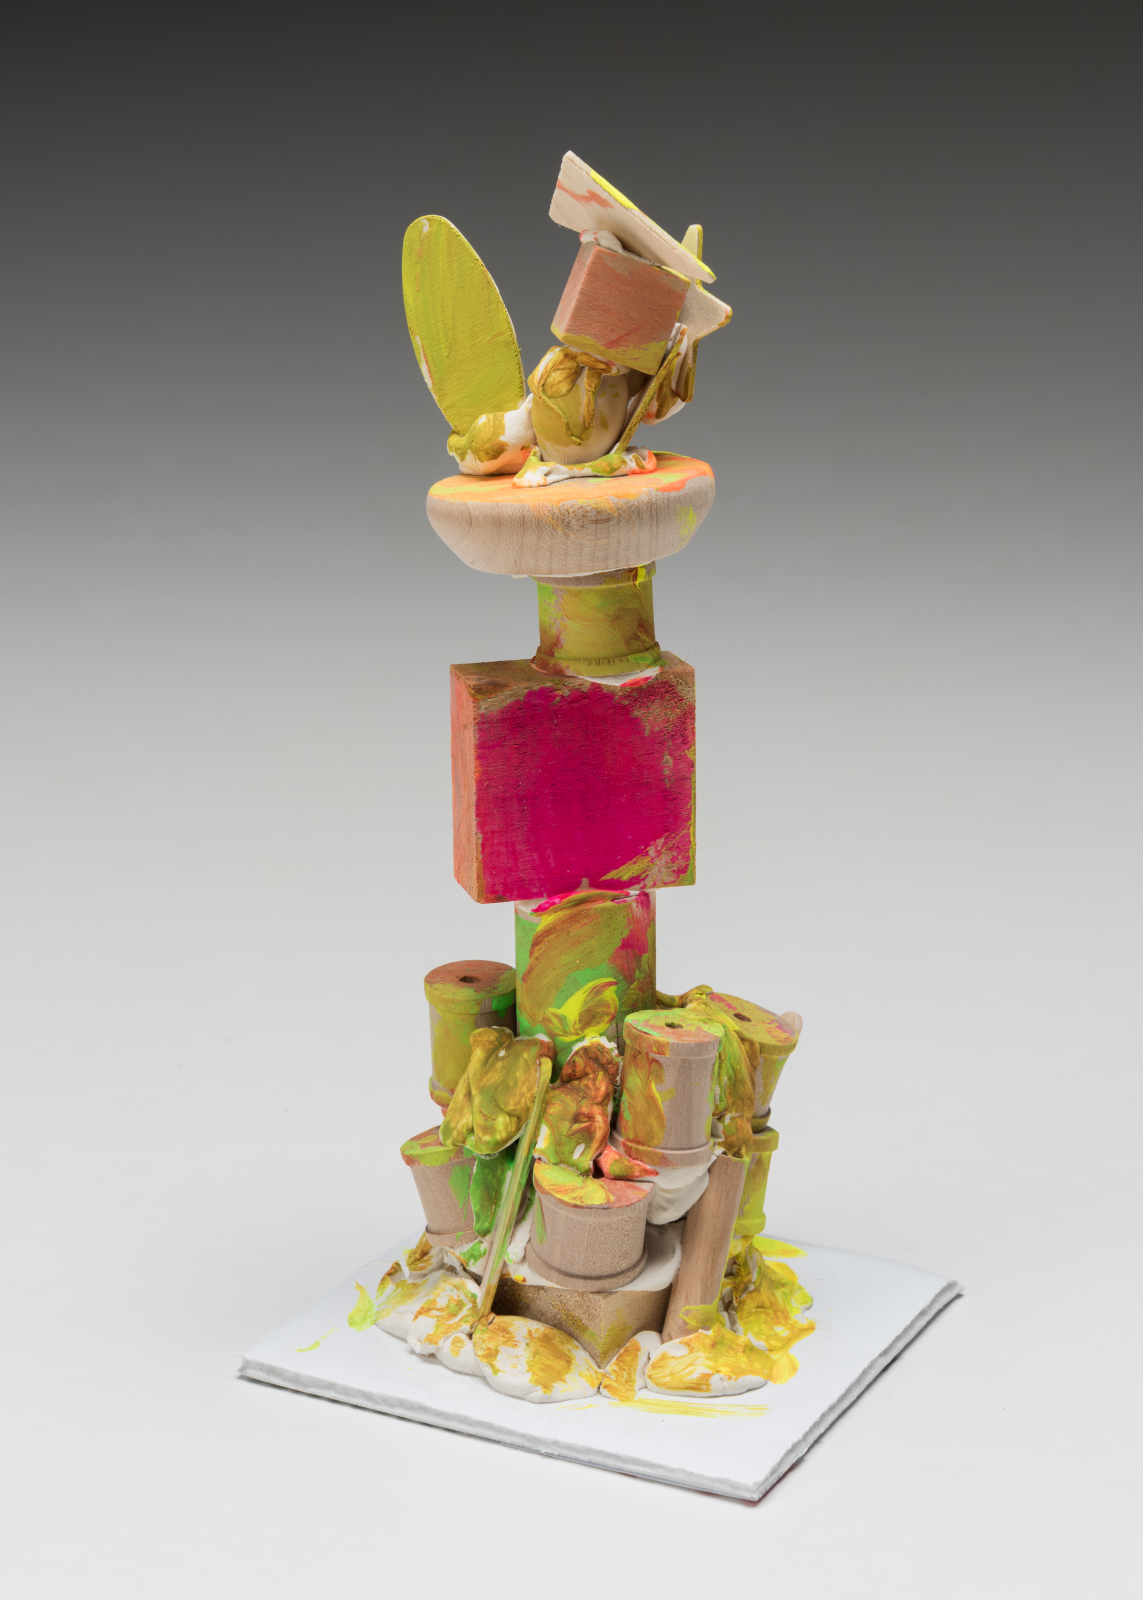
Art Project
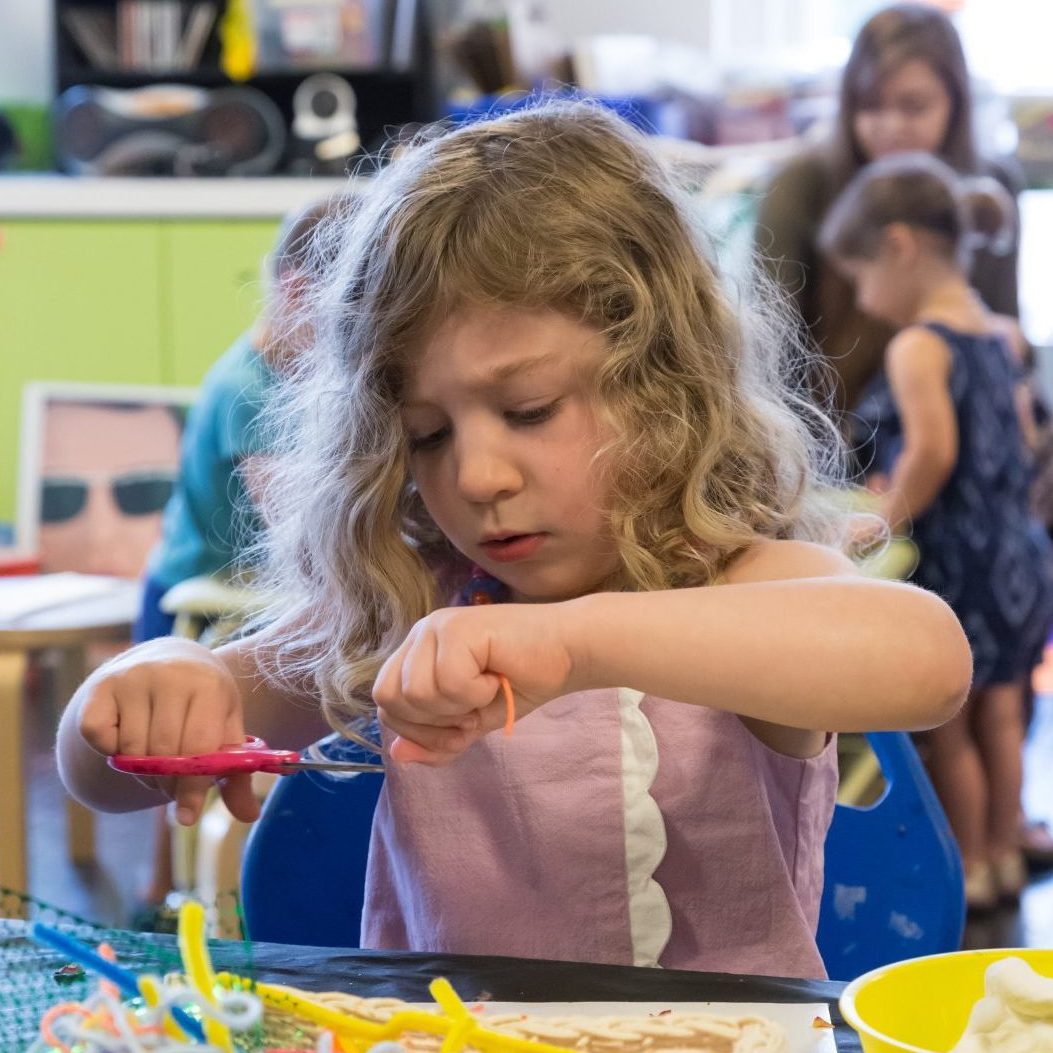
After your visit to the museum, create your own sculpture! Remember that the process is more important than the outcome. Allowing children to create their art with the freedom to make their own choices builds confidence and independence. We encourage this and hope that you will too! Learn more about the benefits of process based art here.
Materials:
- Cardboard or foam core base (about 6 in x 6 in)
- Crayola Model Magic clay (white) or craft glue
- Assorted wooden pieces (blocks, spools, corks, etc.)
- Paint (various colors of your child’s choosing) – tempera, homemade, or food grade, depending on the age of your child
- Paintbrush
Directions:
- Begin by asking your child if he or she remembers how Sol LeWitt made his sculpture strong and sturdy (by placing the biggest block on the bottom and smaller blocks on top).
- Remind your child that 1 2 3 4 5 6 was sitting on a larger square base, or platform. The piece of cardboard, or foam core, will serve as the base for your child’s sculpture.
- Allow your child to use a small piece of Model Magic clay (about the size of a marble), or craft glue, to attach the first wooden piece (of his or her choosing) to the base.
- Your child can continue to build the sculpture by attaching as many wooden pieces as he or she wishes.
- Remember, there is no wrong or right way to create the sculpture. If your child adds a piece that makes the sculpture start to tip, it’s okay! Instead of stepping in and fixing it, step back and give your child the space to develop his or her own problem-solving skills.
- Finally, let your child add color to the sculpture using paint, if desired.
- Encourage your child to turn the sculpture while building and painting – remember, a sculpture is meant to be seen from all its different sides.
Afterwards, have a discussion with your child about his or her sculpture. Instead of just saying, “Great job!”, ask some of these questions.
Book List
Here are some suggested books that relate to this resource:
Look! Look! Look! at Sculpture by Nancy Elizabeth Wallace
Blocks by Irene Dickson
Block City by Robert Louis Stevenson
Tap Tap Bang Bang by Emma Garcia
Old MacDonald Had a Woodshop by Lisa Shulman
Mighty Mighty Construction Site by Sheri Duskey Rinker
Rosie Revere, Engineer by Andrea Beaty
Perfect Square by Michael Hall